")
With this session we went over the basics of UV mapping which I already know a bit from the first year. However its good to go over it again properly as it allows me to refresh my mind on UV mapping and its tools. Going over this properly allowed me to get a better understanding of how to make UV maps the right way and even learning new tools such as the layout button that sorts out the layout of the UV shells and the unfold toll that flattens the UV shell. Anyway with this session we simply went over basic objects on how we can UV map them from cubes, cylinders and torus.


We even went over the UV mapping for the fidget cube and the Z Brush cube. With going over the fidget cube I came across some issues with the UV map as for some reason one of the faces would break apart when pressing the layout button. I tried to sew the individual UV shells when they split but they would end up making it worse. I even tried deleting the face and remake it which still didn’t sort it, so to solve this I ended up deleting most of it and rebuilding it which sorted out the issue in the end.


With the fidget Cube sorted I moved onto sorting out my Z Brush cube where I left off with the re topology of the Cube which looked alright however it lacked detail due to the small number of polygons which Chris pointed out and give me tips on how to improve it. Being its my first attempt I started a new one to improve from the first one which it has as it has more detail on the edges that have been chipped away giving it a softer edge.


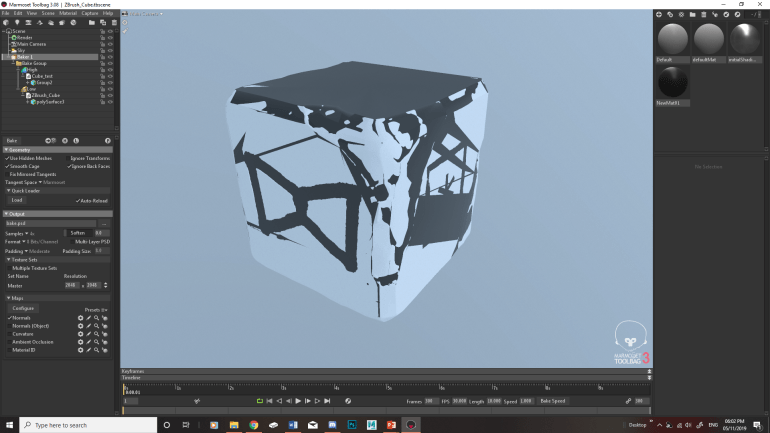
After the session I wanted to get ahead to see what I would be getting up to in the next workshop session which is baking the low and high polys together. The reason for doing this is that it reduces the polys but it still keep the detail of the carvings. To see how its done in Marmoset I researched into it by going to their website and looking at their tutorials which they have a video breaking it down, making it easier for me to understand and how it works. I tried this out to see if my retopology has the basic shape of the Z Brush cube which it did but there are some small problems which can easily be fixed going back into the retopology. I then preview bake it to see if it works which it does as its imprinted the symbols into the cube. The only thing left to sort out is the shape of the retopology.
Tutorial Link: https://marmoset.co/posts/toolbag-3-texture-baking/